1. Ultra Model
1.1 Flashing Requirements
- HDMI display
- Portable storage device with capacity > 32G
- USB keyboard
- Third-party system image: Ubuntu/Debian/FNOS
- Bootable disk creation tool like Rufus
1.2 Start Flashing
1.2.1 Preparation
- Power off the device normally
- Connect HDMI display
- Connect USB keyboard
- Use a third-party tool to write the system to be flashed to the USB drive
1.2.2 Enter BIOS
After powering on the device, continuously press the F2 key on the keyboard while observing the HDMI display, wait for the following BIOS interface to appear: 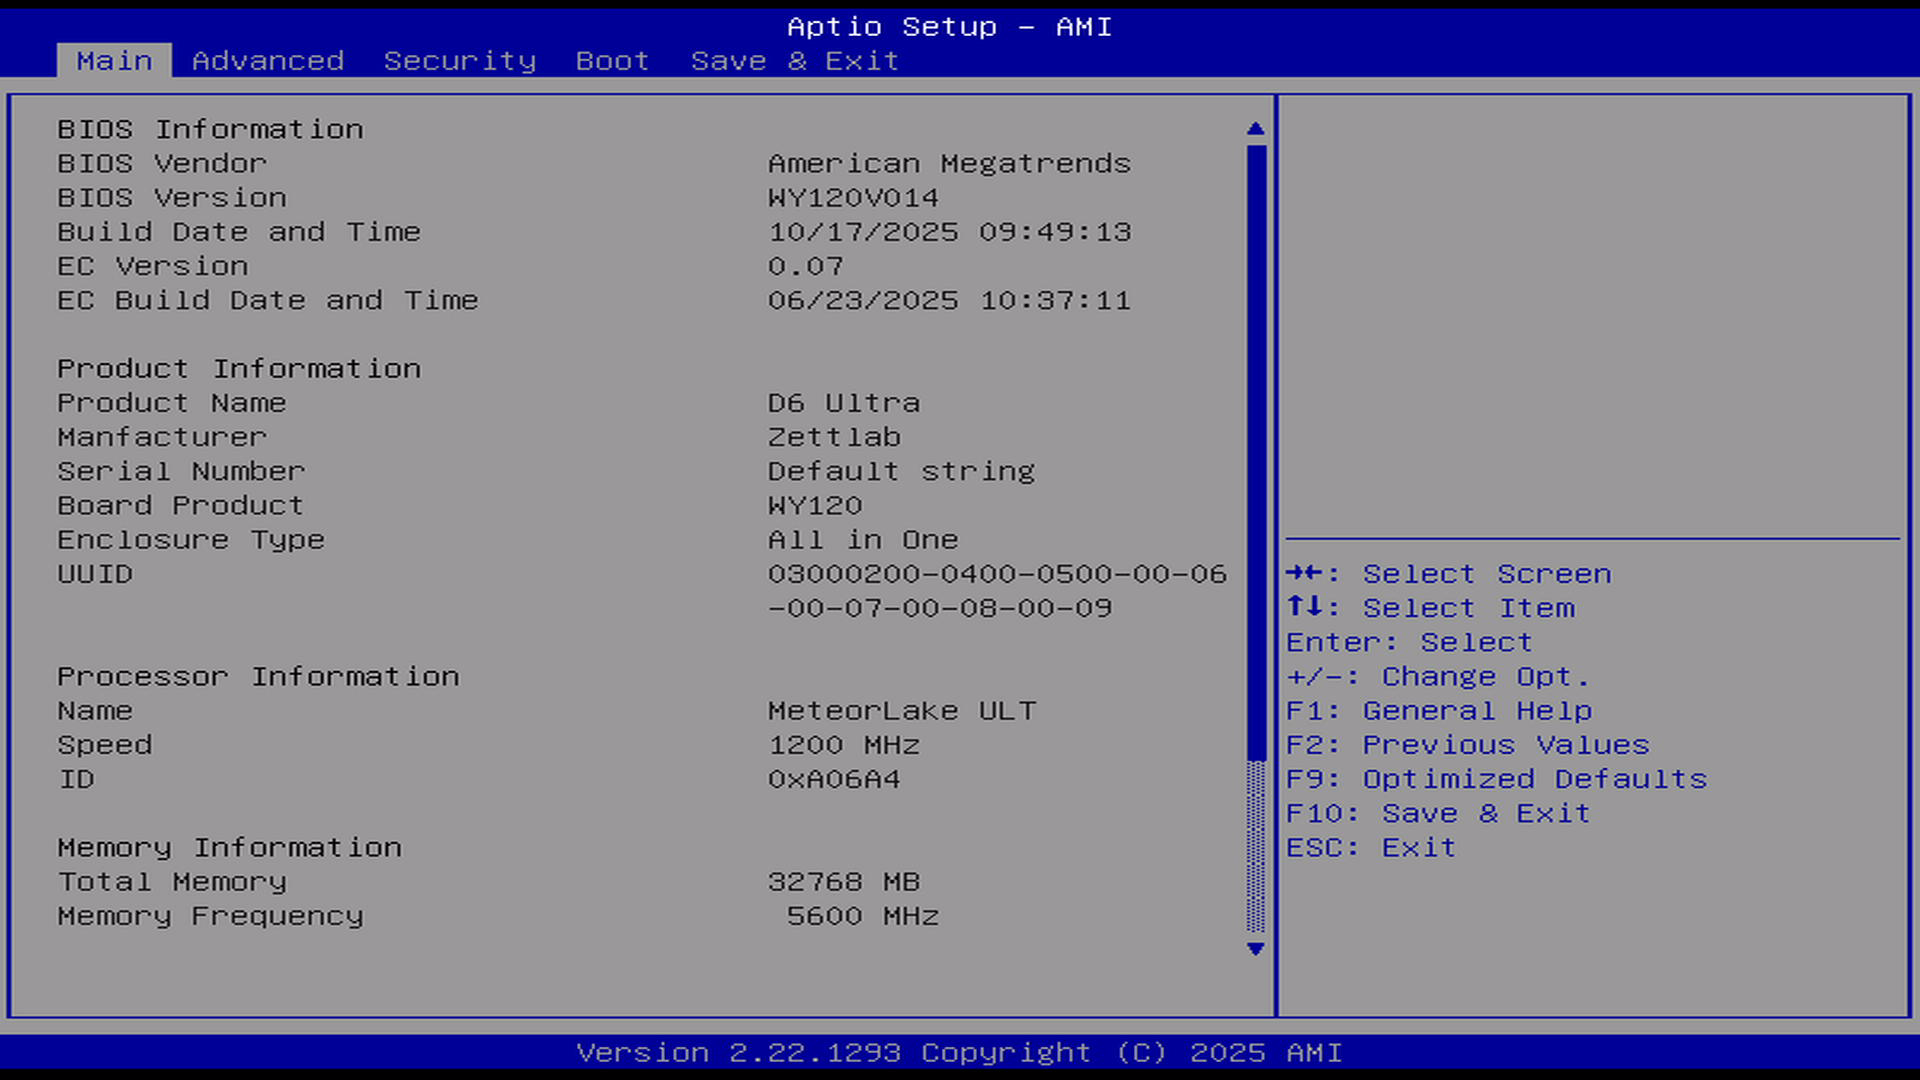
1.2.3 Disable Secure Boot
In the BIOS interface, use the left and right keys on the keyboard to navigate to the Security page:
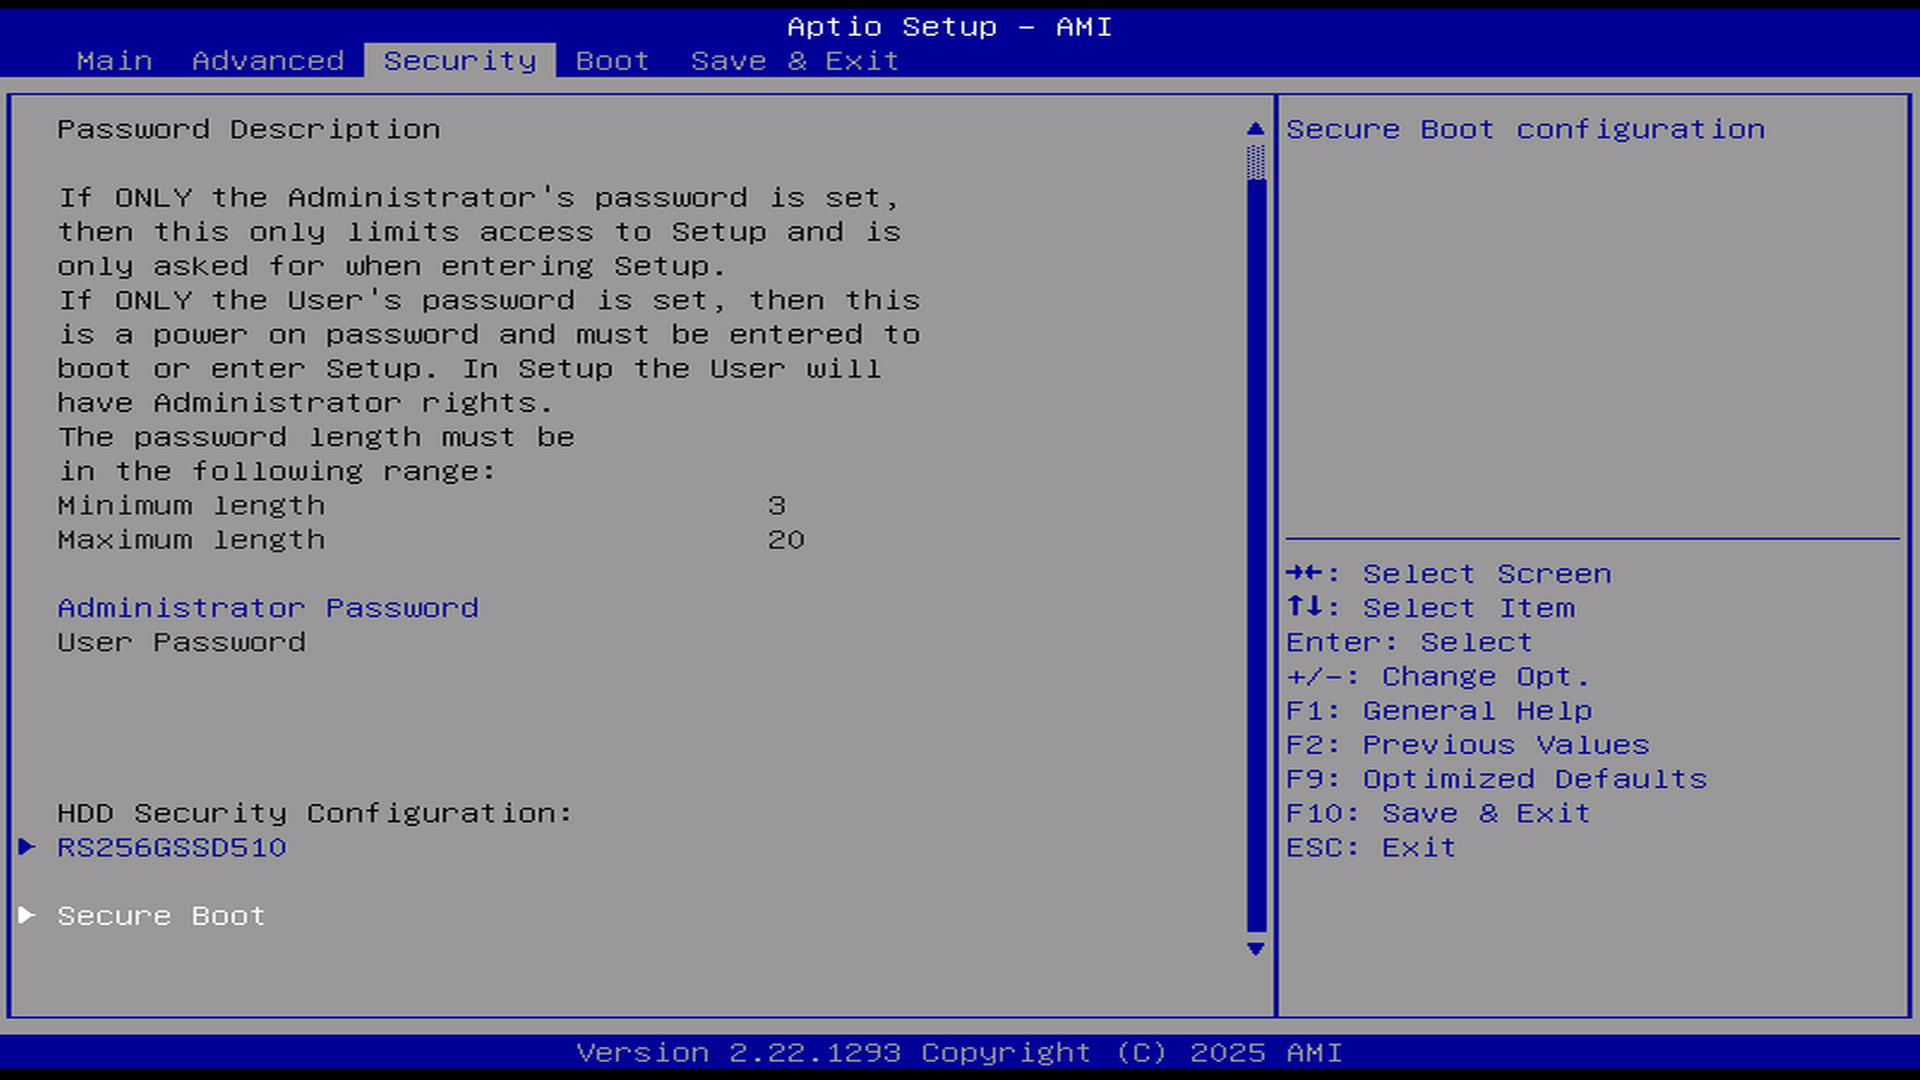
Then use the up and down keys on the keyboard to focus on the Secure Boot option and press Enter, the following page will appear:
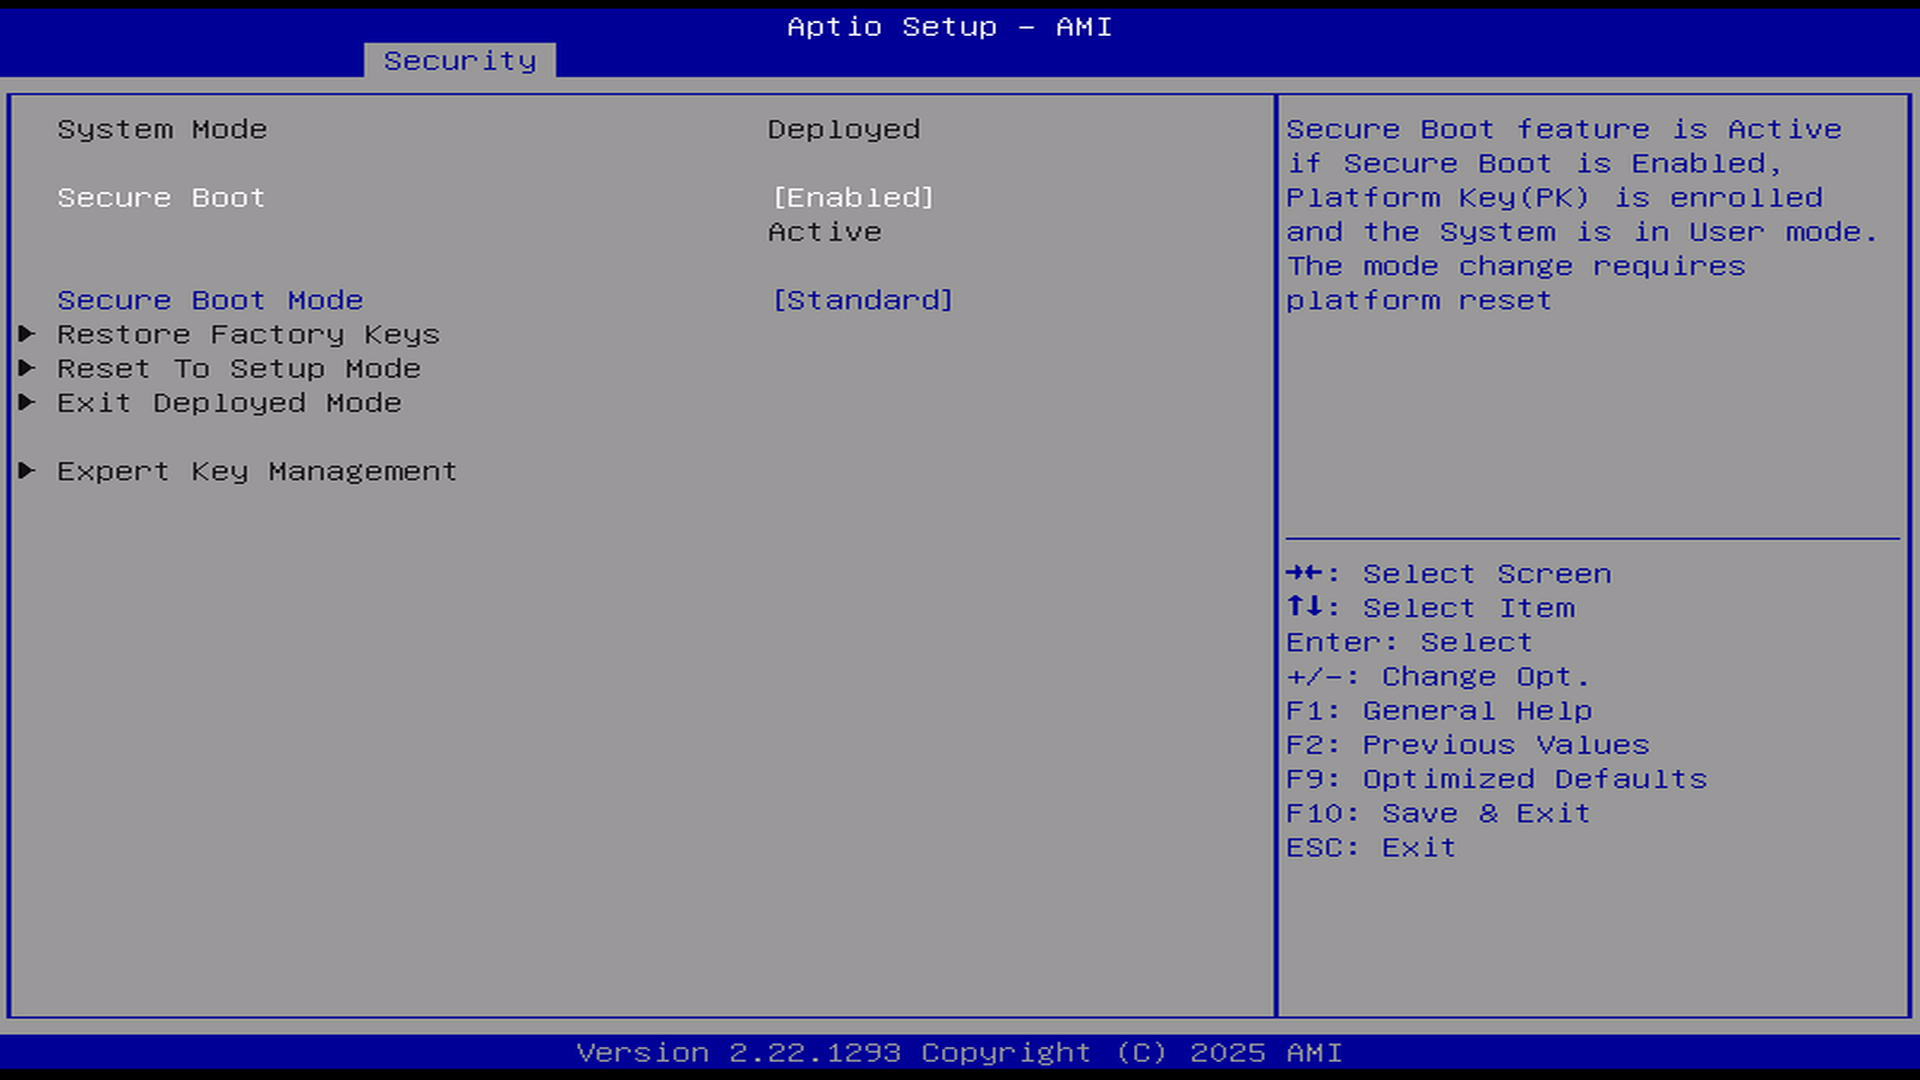
If Secure Boot is Enabled, you need to press Enter:
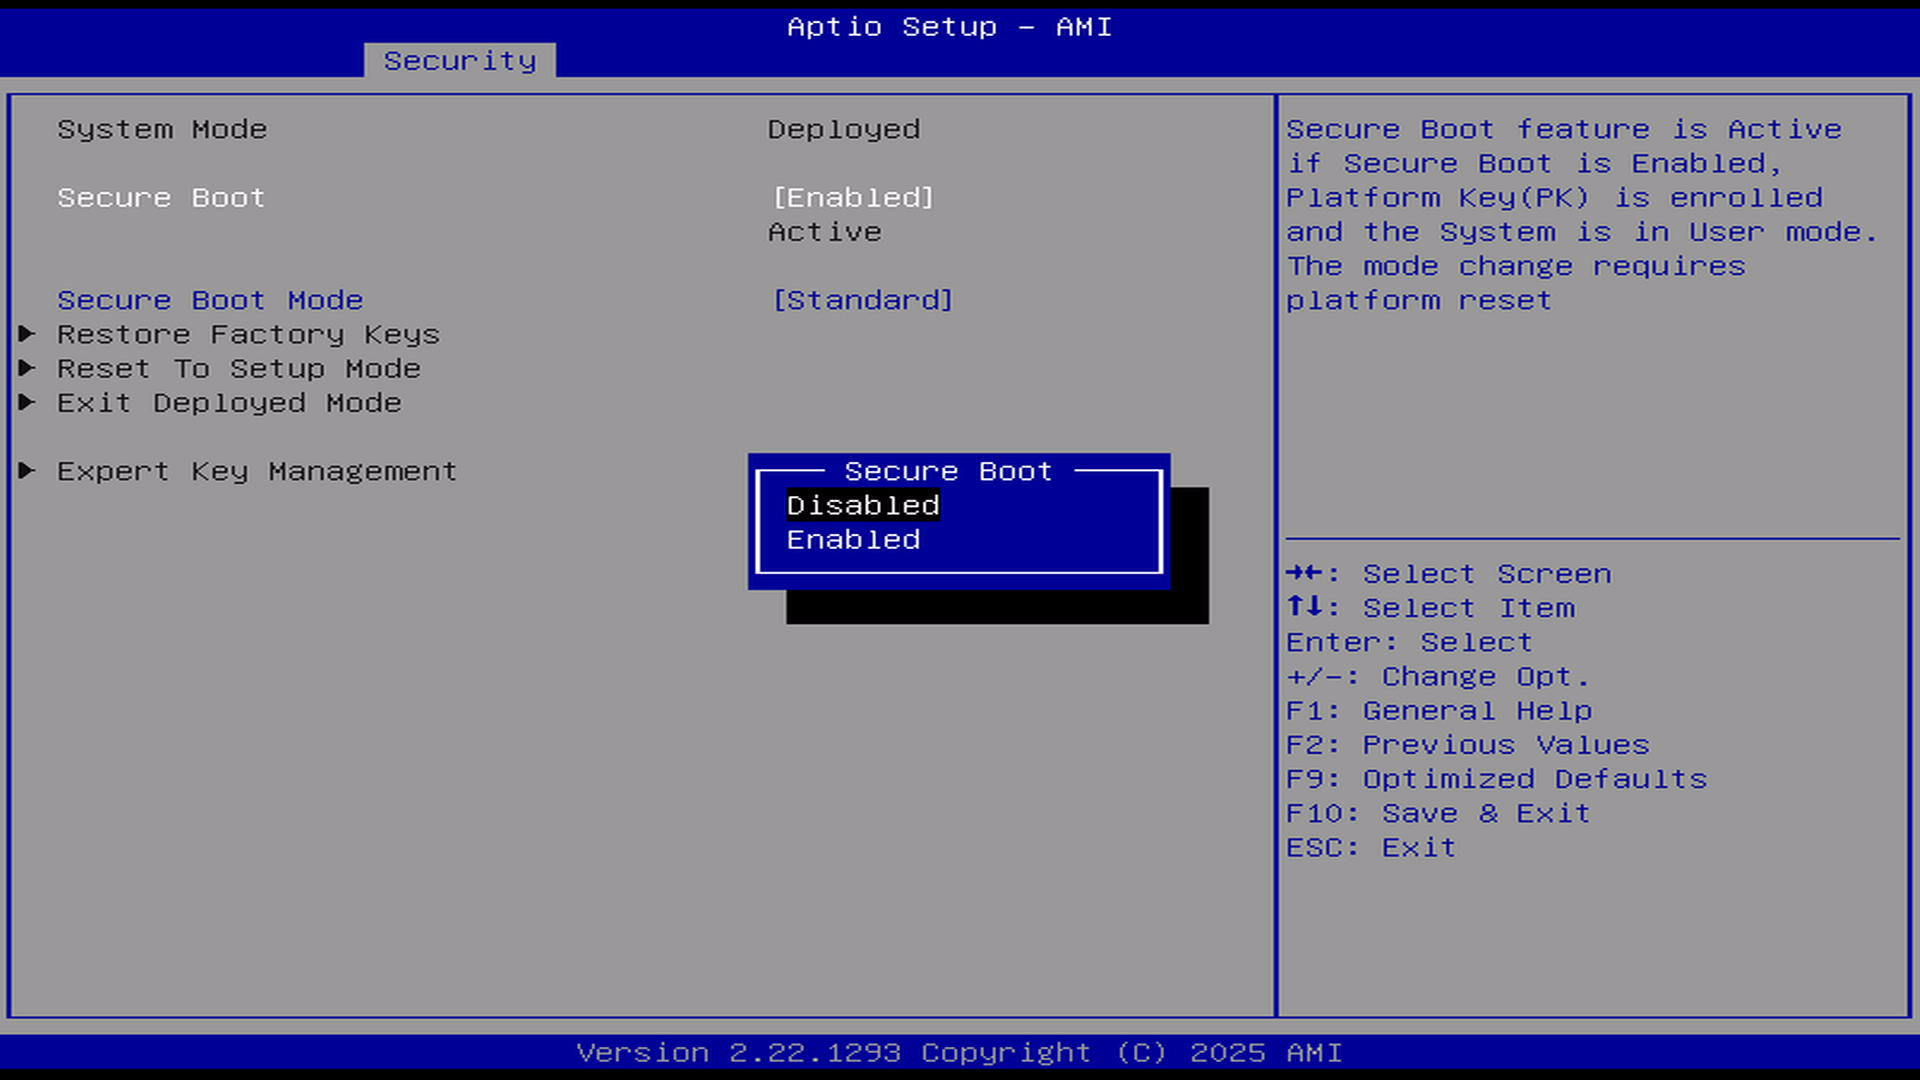
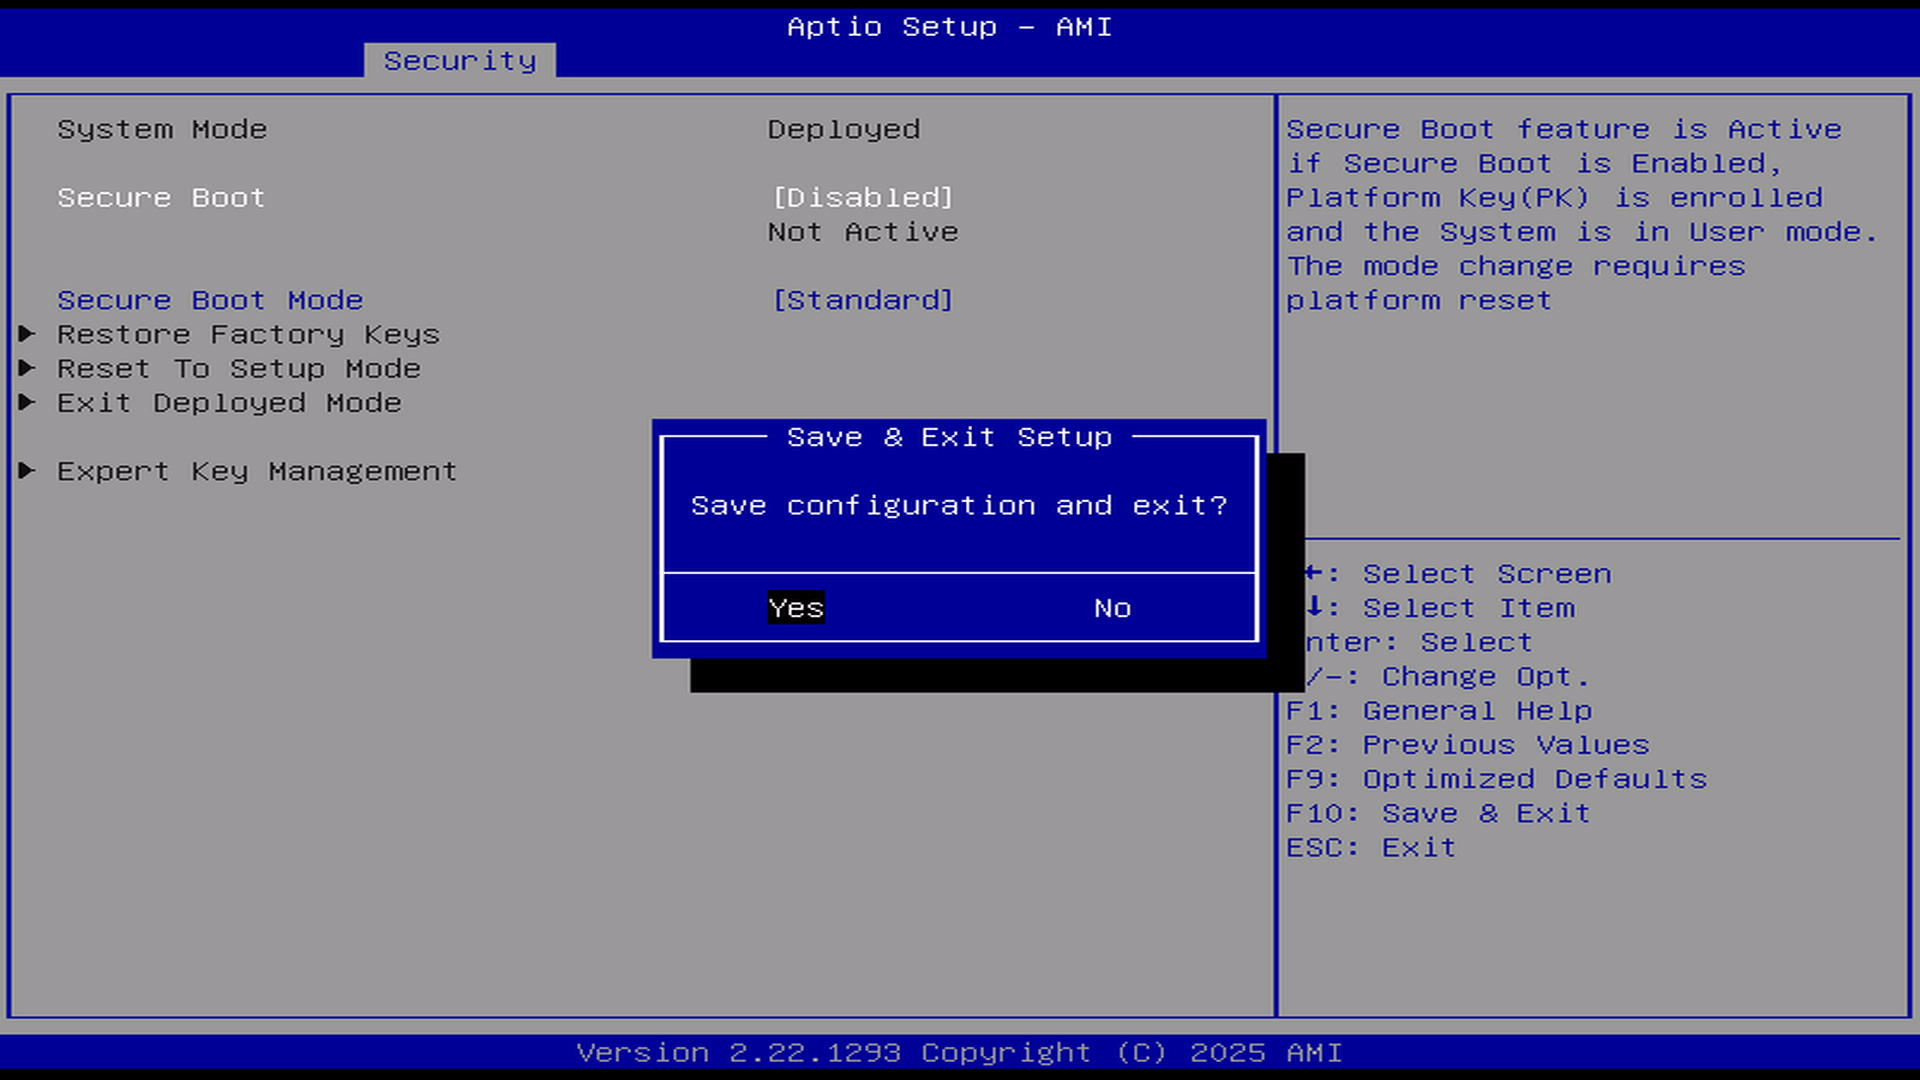
Use the up and down keys on the keyboard to select: Disabled, press Enter to confirm after selection, then press F10, and press Enter again to confirm saving the configuration in the pop-up page.
Complete operation process demonstration:

1.2.4 Flash System
- First keep the machine powered off
- Then insert the bootable USB drive you just created
- While powering on the machine, continuously press the F12 key on the keyboard until the following screen appears:
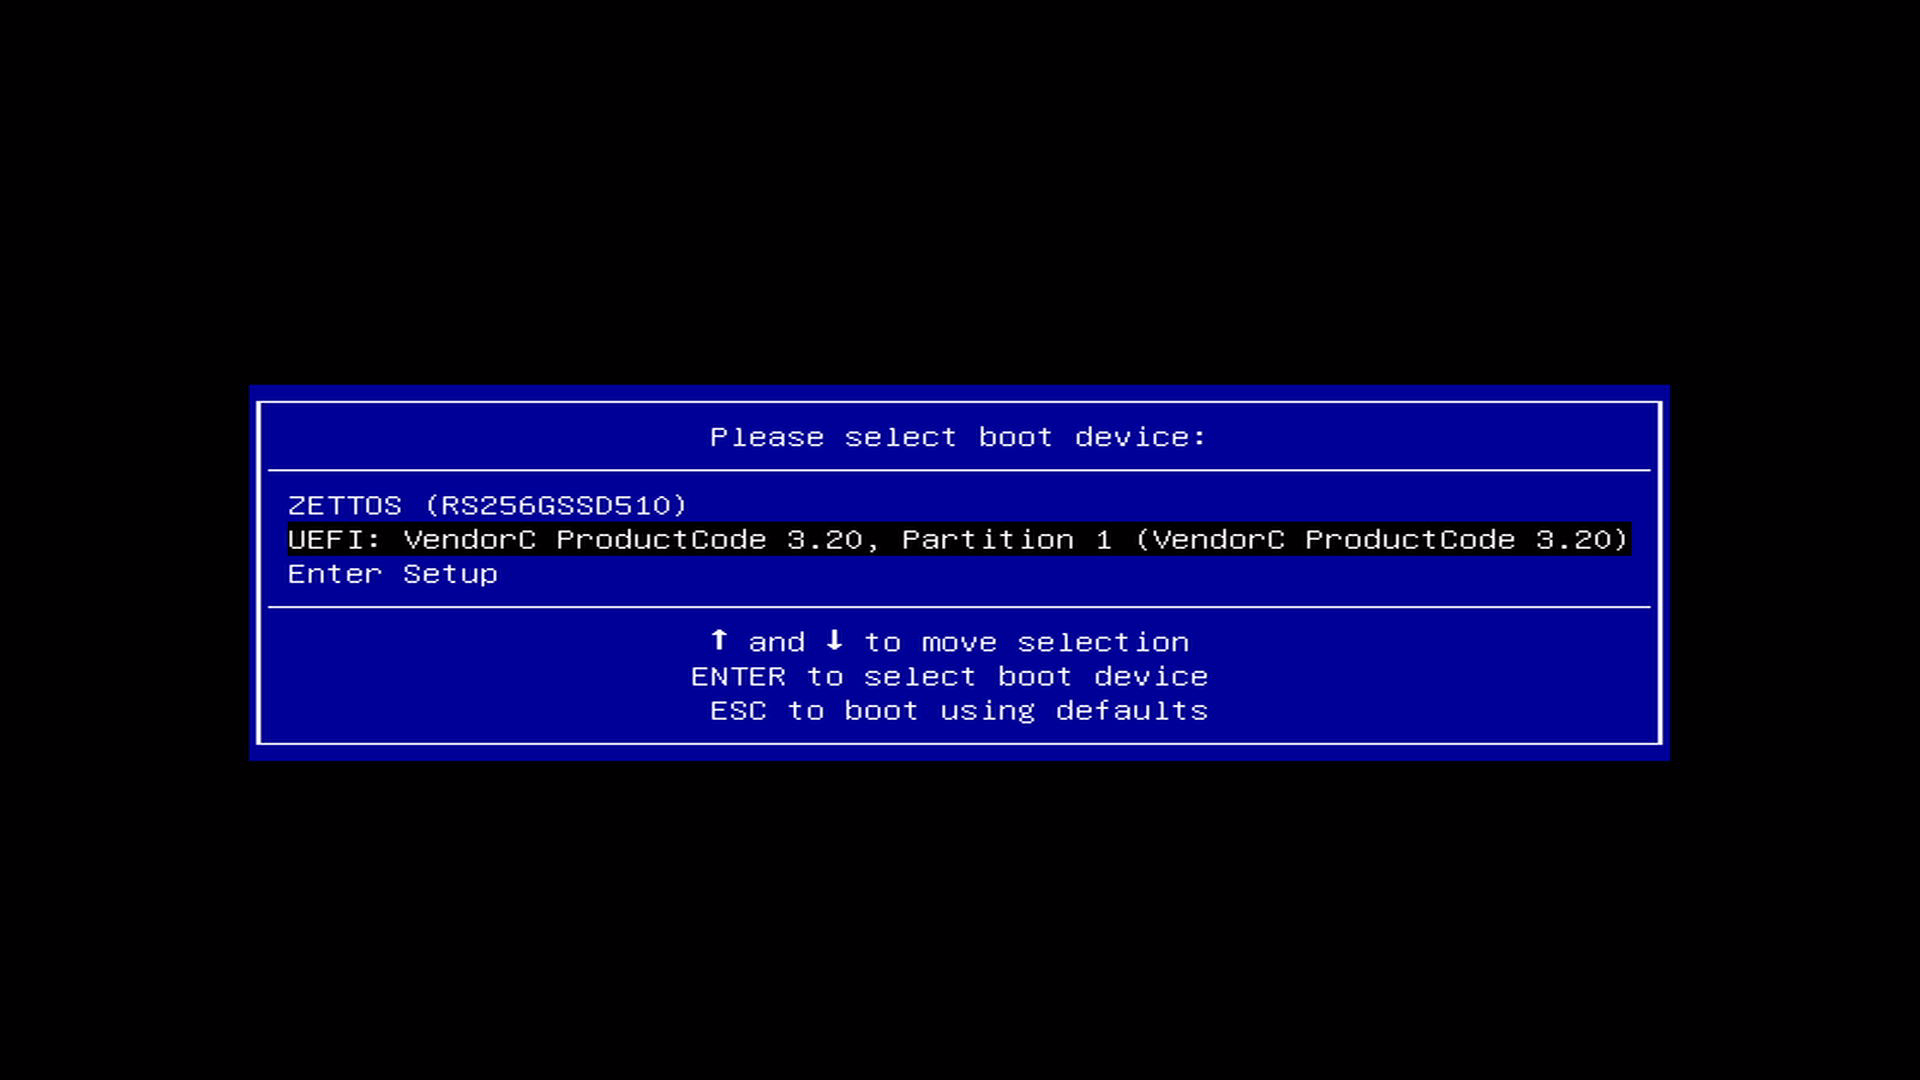
- Then use the up and down keys on the keyboard to select your inserted portable storage device, and press Enter to confirm booting from that device
- Next, you will enter the system installation interface, follow the operation guide of the third-party system to install and configure
2. ARM Model
ARM models are quite special. Since the CPU has a burned-in encryption key, the firmware during the flashing process and the running process must be signed by Zettlab. Later, we will invest resources to adapt to as many open-source systems as possible